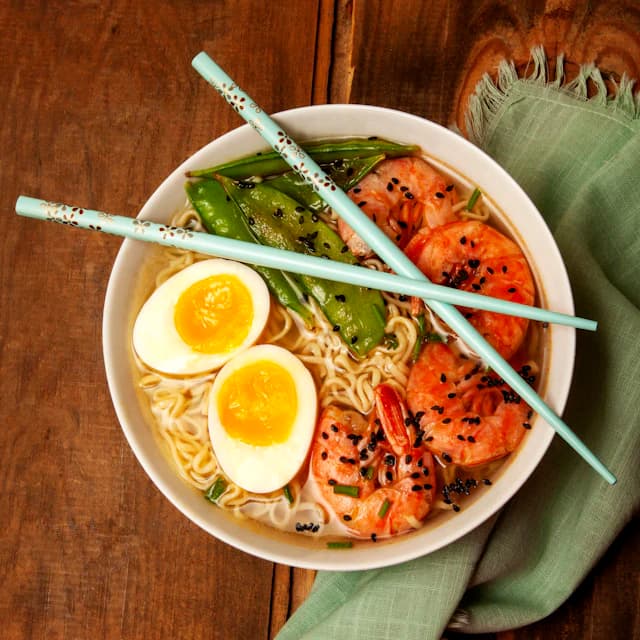
To take menu photos on your phone, set each dish by a window in soft, indirect daylight and shoot from straight overhead for plates and bowls, or from about 45 degrees for burgers, sandwiches and tall dishes. Keep the dish in the middle of a landscape frame with space all around it, so it still fits when the photo is cropped for different places. Use the same spot, surface and light for every dish, and the same angle for each kind of dish, and the whole menu will look like one set.
This guide covers the setup, the angle for each kind of dish, framing, phone settings, shooting a whole menu, exporting from an iPhone and crediting the person who took the photos.
Where to set up for menu photos
Pick a slow afternoon between services, when the kitchen can plate one dish at a time and someone can carry each plate straight to you. You need a table by a window, one surface to put the dishes on, a phone and an hour or two. Set up once, and leave everything where it is until the last dish is done.
Use window light
Uber Eats' menu photography guide recommends setting the food on a table with indirect, natural sunlight coming from a window. It warns that very bright, direct sunlight can cast harsh shadows, and it advises against shooting food under poor fluorescent lighting. DoorDash's merchant photo guide also says to use natural light when possible and to avoid standing between the light source and the item.
A window that gets no direct sun at that hour is the easiest to work with. If the sun is shining straight in, a thin white curtain or a step back from the window softens it.
Turn the room lights off
This one is our own advice. Switch off the ceiling lights and any lamps near the table, so the window is the only light on the plate. With one light source, dishes shot on different days are much easier to match.
If the side of the dish away from the window looks dark, hold a sheet of white card or paper on that side, just out of the frame. It bounces some window light back onto the food. Leave the phone's flash off for the same reason: one light, from one direction.
Choose one surface
DoorDash asks for a simple, non-distracting background. Pick one table top, board or cloth and use it under every dish. A plain surface in a quiet colour leaves the food as the main thing in the photo.
Keep a phone stand or small tripod nearby. DoorDash suggests a tripod in low light to prevent motion blur, and a stand also holds the phone at the same height for every shot.
Which angle to use for each dish
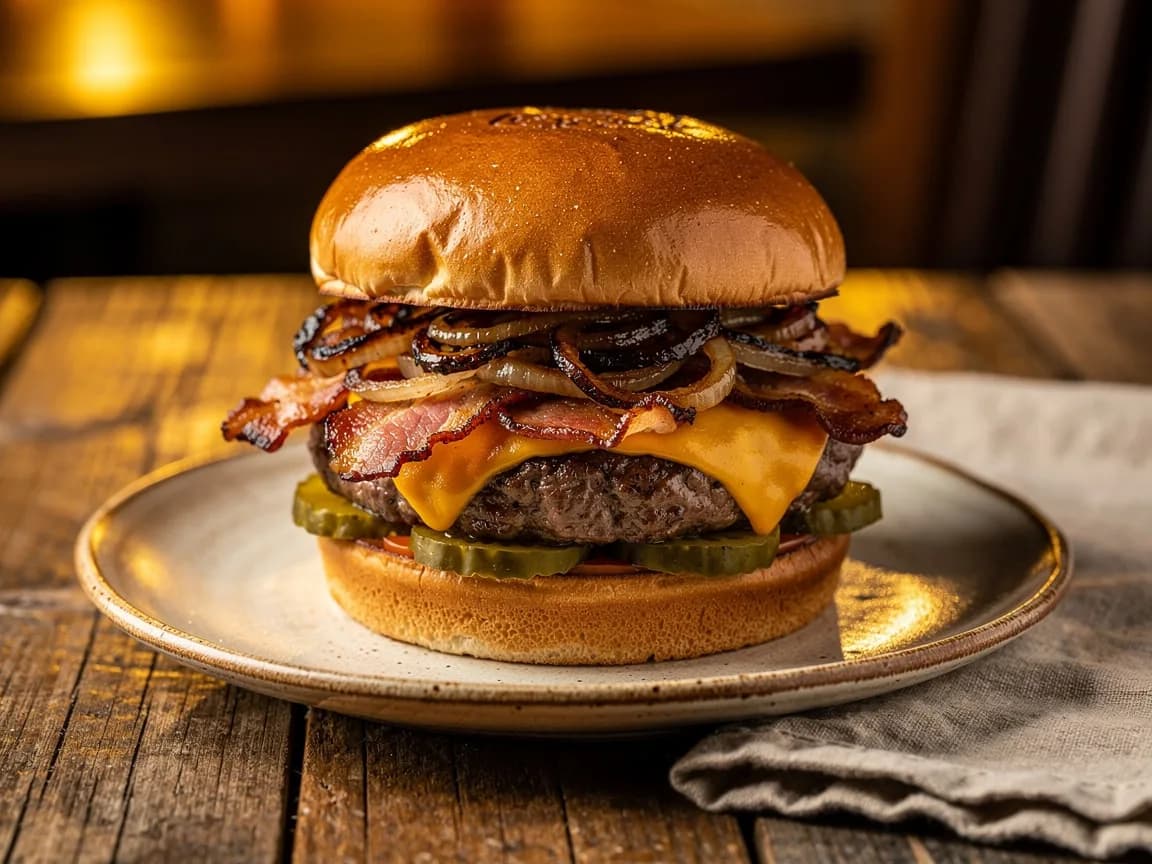
Uber Eats' guide gives two angles. Top-down shots suit plates of food and bowls, and a 45-degree angle from the side suits burgers, sandwiches and taller items. For burgers, sandwiches, wraps and burritos, it suggests cutting the item and stacking the two halves so guests can see what's inside.
The table applies that guidance to common dishes. The examples and tips in it are ours.
| Kind of dish | Angle | Tip |
|---|---|---|
| Flat plates: mains, pasta, salads, pizza | Overhead | Hold the phone level over the middle of the plate |
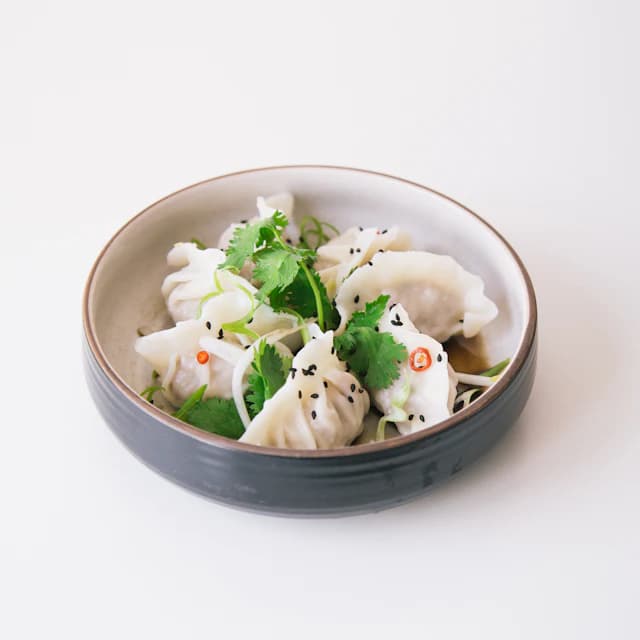
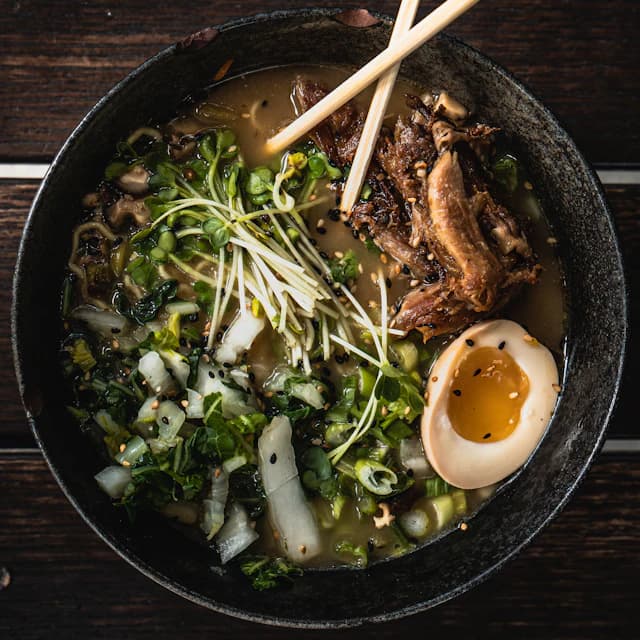
| Bowls: soups, noodles, rice bowls | Overhead | Keep the whole rim in the frame |
| Burgers, sandwiches, wraps, burritos | About 45 degrees | Cut in half and stack the halves |
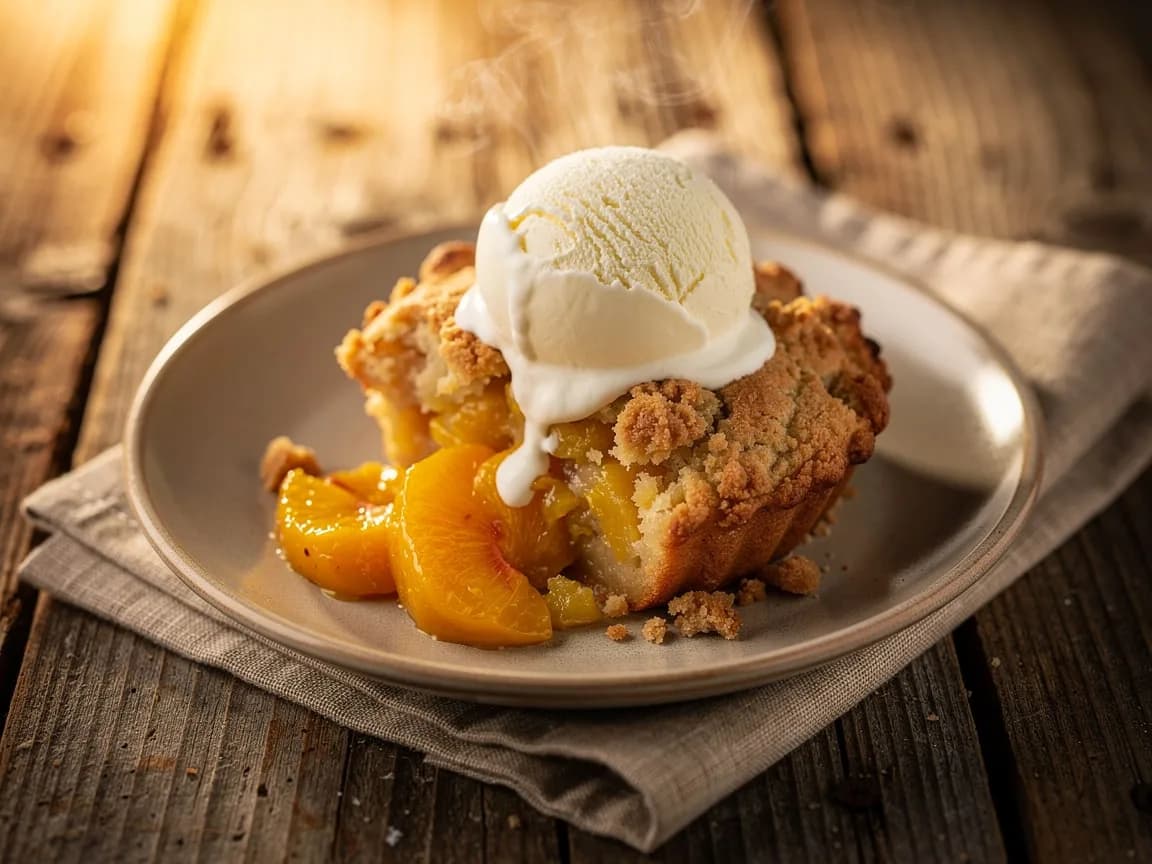
| Tall dishes: layered desserts, stacked dishes, tall glasses | About 45 degrees | Shoot from the side so the layers show |
DoorDash's guide asks you to centre the item and to show the full item whenever possible, naming plates and bowls as examples. For overhead shots, that means the whole plate with a margin of table around it.
How close to get
Uber Eats warns against getting so close that it's impossible to tell what the ingredients are or how big the portion is. Our advice is to move the phone closer until the texture of the food is clear, and stop while the rim of the plate is still in view with some surface around it. You'll want that margin when the photo is cropped, which the next section covers.
Shoot it as soon as it's plated
Uber Eats suggests photographing food as quickly as possible once it's plated. Ask the kitchen to send each dish the moment it's ready, plated exactly as it would go to a table, and take your shots in the first minute or two.
Uber Eats also says a garnish can add a splash of colour, as long as the photo is still a true representation of the dish. Google's photo guidelines for Business Profiles ask the same: an image should represent reality, without significant alterations or heavy filters. Plate each dish the way a guest will get it.
Menu photo sizes for Google, DoorDash and your menu page
The same photo of your short rib might end up on your menu page, your Google Business Profile and a delivery app. Each documents its own requirements. Here is what each one says.
| Where the photo goes | What it documents |
|---|---|
| Google Business Profile | JPG or PNG, 10 KB to 5 MB, at least 250 × 250 pixels, 720 × 720 recommended, in focus and well lit |
| DoorDash | Landscape 16:9 only, at least 1,400 × 800 pixels; vertical and square photos aren't accepted |
| MenuFramer dish page | Shown at 4:5, a slightly tall rectangle; uploads are resized to 1,600 pixels on the long edge |
Two of these shapes are very different. 16:9 is wide, and 4:5 is slightly taller than it is wide. DoorDash's guide says to shoot horizontally from the start and to centre the item, and it advises against cropping vertical photos to fit 16:9, since that often cuts off the item.
Keep the dish in the middle of the frame
A 4:5 crop taken from the centre of a 16:9 photo keeps a little under half of its width. So shoot in landscape, turn on the camera grid (covered below), and keep the whole dish between the two upright grid lines, or only just past them, with some space above and below. The same photo then works as a wide 16:9 picture and as a 4:5 dish photo.
If you have time, take a second photo of each dish in portrait as well. Then you have a tall version ready for your menu page and never need to crop it from the wide one.
Keep your originals
Before you crop or upload anything, save the full-size files in one folder, with each file named after its dish. MenuFramer resizes uploads to 1,600 pixels on the long edge, so the originals are the copies to go back to for print or a new listing. If you're also putting your menu on Google, see how to add your menu to Google.
Phone camera settings for menu photos
A few settings make a set of menu photos easier to keep consistent. The steps below come from Apple's and Google's own help pages for iPhone and Pixel. On other phones, check your phone maker's help pages for its camera settings.
Turn on the grid
The grid draws lines over the camera screen to help you straighten and line up a shot. On an iPhone, open Settings, tap Camera and turn on Grid (Apple's camera tools guide). On a Pixel, open the Camera app, tap Settings at the bottom left, then tap More Settings and Grid type, and choose a grid (Pixel Camera Help).
Use the lines to keep the dish in the middle and the edge of the table straight. For an overhead shot, line the plate up with the centre square and check that the plate looks round. If it looks oval, the phone is tilted.
Pick one zoom button
Apple's camera basics guide describes two ways to zoom. You can tap one of the zoom buttons, such as 0.5x or 1x, which vary by iPhone model, or you can pinch the screen.
Our advice is to choose one zoom button for the whole menu, such as 1x, and frame each dish by moving the phone closer or further away. Every photo then has the same look, and you avoid a slightly different in-between zoom for each dish.
Check Portrait mode photos
Portrait mode creates a depth-of-field effect, keeping the subject sharp and blurring the background. Apple notes that on some iPhone models the back camera has to detect a person's face to take a Portrait mode photo, so on those models it won't work on a plate of food. For a set of menu photos, the standard Photo mode is the simpler choice, because every dish comes out with the same look.
If you do use Portrait mode, zoom in on the finished photo and look closely at the rim of the plate and any garnish. To remove the effect afterwards, open the photo, tap Edit, tap Portrait, then tap Done. Apple's page also explains how to adjust the blur.
How to shoot a whole menu so the photos match
A menu where every photo was taken in the same light and on the same surface, with the same angle for each kind of dish, looks like one set. These steps are our own advice.
- Write a shot list from your menu, with the angle for each dish from the table above.
- Shoot in one session if you can, at the same time of day. Window light changes through the afternoon.
- Mark the spot. Put a small piece of tape on the table where the plate goes, and keep the phone stand at one height.
- Use the same plates and bowls your guests are served on.
- Take a test shot of the first dish and keep it as your reference. Compare each new photo with it before the next dish comes out.
- Shoot each dish as soon as it arrives, take several frames, and keep the best one.
- Name each file after its dish when you save it.
Then write the setup down: the window, the time of day, the surface, the angle, the zoom button and the phone height. When a new special goes on the menu in March, you can set up the same way, and the new photo will sit with the rest.
Keep edits light and the same on every photo
If you edit, apply the same small adjustment to every photo, such as a little more brightness. Google asks for photos without significant alterations or heavy filters, and DoorDash doesn't accept text that was added digitally. Each photo should show the dish a guest will actually get.
How to export iPhone photos for your menu
MenuFramer accepts JPG, PNG, WebP and AVIF photos up to 25 MB. It doesn't accept HEIC files, the HEIF format an iPhone uses when its camera is set to High Efficiency. You can switch the camera to JPEG before the shoot, or export the photos as JPEG afterwards.
To switch before the shoot, open Settings, tap Camera, tap Formats and choose Most Compatible. Apple's support page says all new photos and videos will then use JPEG or H.264. To go back to Apple's space-saving formats later, choose High Efficiency.
That setting changes new photos only. For photos you've already taken, Apple's page explains converting them on a Mac: open the image in Photos or Preview, choose File > Export, and pick JPEG.
Once the photos are JPEGs, add them to your dishes, one per dish. On MenuFramer every dish can have its own photo (how photos work). For Google, check the file size first, since Business Profile photos need to be between 10 KB and 5 MB.
How to credit your photographer
The photos might come from a line cook with a good eye, a regular who shoots for fun, or a photographer you hired. Whoever took them, give them credit. Each photo on MenuFramer can carry a photographer credit with a link, and Credit your photographer shows how to add it.
If you hire someone, agree before the shoot where you'll use the photos, such as your menu page, Google, delivery apps and print, and how they'd like to be credited. Photographers can read more on our page for photographers.
Frequently asked questions
Do I need a real camera for menu photos?
A phone is enough for most menus. The things that make the biggest difference are the light, the angle and using the same setup for every dish, and none of them needs extra equipment. A phone stand helps keep every shot at the same height.
What size should menu photos be?
It depends on where they go. Google Business Profile asks for JPG or PNG files between 10 KB and 5 MB, at least 250 × 250 pixels and ideally 720 × 720. DoorDash asks for landscape 16:9 photos of at least 1,400 × 800 pixels, and MenuFramer shows dish photos at 4:5 and resizes uploads to 1,600 pixels on the long edge.
Why won't my iPhone photo upload?
It's probably a HEIC file, which MenuFramer doesn't accept. Export the photo as JPEG, or set Settings > Camera > Formats to Most Compatible so new photos are saved as JPEG. MenuFramer also has a 25 MB limit per photo.
Should every dish have a photo?
That's your call. A good order is to start with the dishes guests order or ask about most, then fill in the rest over a few sessions. Keep the same setup each time, so the later photos match the first ones.
Can I use stock photos or photos from the internet?
Use photos of your own food. DoorDash's guide says not to use stock photos, images copied from websites or third-party images, and Google asks that an image represent reality. A guest should see the dish your kitchen actually sends out.
Can I edit my menu photos?
Light edits are fine, as long as the photo still shows the real dish. Google asks for no significant alterations or heavy filters, and Uber Eats asks that a photo stay a true representation of the dish. Apply the same edit to every photo so the set still matches.
Sources
- Restaurant menu photography guidelines, Uber Eats, checked October 2026
- Why your DoorDash menu photos were rejected (and how to fix them), DoorDash, checked October 2026
- Manage your Business Profile photos & videos, Google Business Profile Help, checked October 2026
- iPhone camera basics, Apple, checked October 2026
- Use iPhone camera tools to set up your shot, Apple, checked October 2026
- Use Portrait mode on your iPhone, Apple, checked October 2026
- Using HEIF or HEVC media on Apple devices, Apple, checked October 2026
- Change your Camera app settings, Pixel Camera Help, Google, checked October 2026